ChevyParts
My Garage
My Account
Cart
OEM Chevrolet Silverado 2500 Intake Manifold
Engine Intake Manifold- Select Vehicle by Model
- Select Vehicle by VIN
Select Vehicle by Model
orMake
Model
Year
Select Vehicle by VIN
For the most accurate results, select vehicle by your VIN (Vehicle Identification Number).
2 Intake Manifolds found


Chevrolet Silverado 2500 Manifold Part Number: 17113697

Chevrolet Silverado 2500 Intake Manifold Part Number: 89017365
Chevrolet Silverado 2500 Intake Manifold
Want to cut long-term maintenance and repair costs? Choose OEM Intake Manifold. Those parts deliver top durability you can trust. On our site, you'll find a huge catalog of genuine Chevrolet Silverado 2500 parts. Prices are unbeatable, so you can keep more in your pocket. Every OEM Chevrolet Silverado 2500 Intake Manifold includes a manufacturer's warranty. You can also get an easy return policy that keeps buying risk free. Fast delivery, get your car on the road quickly. It's simple to search, compare, and order. Stop guessing about quality or fit. Order today and save with parts that last.
Chevrolet Silverado 2500 Intake Manifold Parts and Q&A
- Q: How to replace the intake manifold on Chevrolet Silverado 2500?A:The replacement process for an Intake Manifold begins with removing the Throttle Body and Fuel Injectors before disconnecting the electrical connectors which supply power to the manifold absolute pressure (MAP) sensor and Knock Sensor. The electrical harness should be put aside after removing the Knock Sensor harness connector. The vacuum brake booster hose needs removal from the Intake Manifold's rear before disconnecting the positive crankcase ventilation (PCV) hose. Begin by disconnecting the MAP Sensor and evaporative emission (EVAP) purge solenoid vent tube from their solenoid attachment to the vapor pipe. Use a socket set to remove the manifold's evap purge solenoid bolt and solenoid and isolator components. Proceed to slowly loosen and remove the Intake Manifold with its accompanying gaskets. Discard the existing gaskets. Check the Intake Manifold condition after cleaning it thoroughly when necessary. Installation requires you to place new Intake Manifold gaskets onto the Intake Manifold before installing the manifold. A 5 mm (0.20 inch) strip of gm p/n 12345382 threadlock (Canadian P/N 10953489) should be applied to the Intake Manifold bolt threads before torquing them in sequence to 5nm (44 inch lbs.) for the initial stage and concluding at 10 nm (89 inch lbs.). The evap purge solenoid and isolator and bolt should be reinstalled and the bolt fastened to 10 nm (89 inch lbs.). The evap purge solenoid vent tube requires connection between solenoid and vapor pipe. Engine oil treatment of the MAP Sensor seal should be gentle before the sensor is secured to the Intake Manifold. Secure the pcv hose and (when needed) the vacuum brake booster hose onto the Intake Manifold's rear surface. You should direct the electrical harness over the engine space and join the Knock Sensor harness to both the MAP Sensor and Knock Sensor connectors . A final installation step involves placing the fuel injectors together with the Throttle Body.
Related Chevrolet Silverado 2500 Parts
 Chevrolet Silverado 2500 Air Charge Temperature Sensor
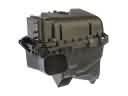 Chevrolet Silverado 2500 Air Filter Box
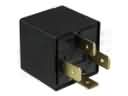 Chevrolet Silverado 2500 Daytime Running Light Relay
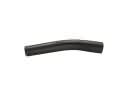 Chevrolet Silverado 2500 Fuel Filler Hose
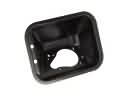 Chevrolet Silverado 2500 Fuel Filler Housing
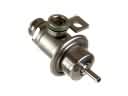 Chevrolet Silverado 2500 Fuel Pressure Regulator
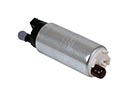 Chevrolet Silverado 2500 Fuel Pump
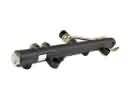 Chevrolet Silverado 2500 Fuel Rail
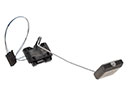 Chevrolet Silverado 2500 Fuel Tank Sending Unit
 Chevrolet Silverado 2500 Fuel Tank Strap
 Chevrolet Silverado 2500 Intake Manifold Gasket
 Chevrolet Silverado 2500 Turbocharger