ChevyParts
My Garage
My Account
Cart
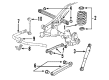
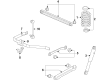
OEM Cadillac Escalade EXT Air Suspension Compressor
Suspension Levelling Compressor- Select Vehicle by Model
- Select Vehicle by VIN
Select Vehicle by Model
orMake
Model
Year
Select Vehicle by VIN
For the most accurate results, select vehicle by your VIN (Vehicle Identification Number).
2 Air Suspension Compressors found


Cadillac Escalade EXT Compressor Part Number: 19299545
$501.44 MSRP: $903.51You Save: $402.07 (45%)


Cadillac Escalade EXT Compressor Part Number: 22941806
$544.54 MSRP: $981.15You Save: $436.61 (45%)
Cadillac Escalade EXT Air Suspension Compressor
Want to cut long-term maintenance and repair costs? Choose OEM Air Suspension Compressor. Those parts deliver top durability you can trust. On our site, you'll find a huge catalog of genuine Cadillac Escalade EXT parts. Prices are unbeatable, so you can keep more in your pocket. Every OEM Cadillac Escalade EXT Air Suspension Compressor includes a manufacturer's warranty. You can also get an easy return policy that keeps buying risk free. Fast delivery, get your car on the road quickly. It's simple to search, compare, and order. Stop guessing about quality or fit. Order today and save with parts that last.
Cadillac Escalade EXT Air Suspension Compressor Parts and Q&A
- Q: How to replace the Air Suspension Compressor on Cadillac Escalade EXT?A:The air compressor replacement process begins by lifting the vehicle into position while using support equipment. You should turn the ignition on while the engine remains off and implement a scan tool to purge system air pressures for no less than one minute. Before disconnecting the Air Hose from the air compressor please clean all parts while keeping an eye on minimal air pressure remaining in the tubes. Detach the air tube from both the air dryer and electrical connection followed by removing the air inlet and hose from the fuel filler neck bracket. Begin by loosening the mounting nuts then pull the air compressor backwards until it clears the frame slots before complete removal from the vehicle. Place the air compressor inside the vehicle when installing it by using the correct fasteners which must maintain the proper part number alignment. Every fastener requires paint, lubricant or corrosion inhibitor exclusion unless specified because they reduce torque performance along with clamping force. After moving the air compressor forward tighten the mounting nuts to reach 15 nm (11 lb ft) torque to insert the fasteners into the frame slots. Reinstall the air inlet hose to the fuel filler neck bracket followed by connecting the air tube to the air dryer while reconnecting the electrical connection. To activate the air compressor first lower the vehicle and start the ignition while leaving the engine off. Connect a scan tool and run the air compressor for 30 seconds until the rear elevation begins to rise. Cycle the ignition while enabling the engine to function between the off and on positions to permit the air suspension system to reach its desired rear suspension setting.

Related Cadillac Escalade EXT Parts
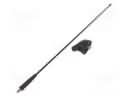 Cadillac Escalade EXT Antenna
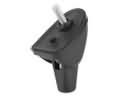 Cadillac Escalade EXT Antenna Base
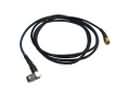 Cadillac Escalade EXT Antenna Cable
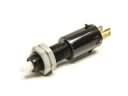 Cadillac Escalade EXT Brake Light Switch
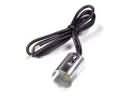 Cadillac Escalade EXT Dome Light Connector
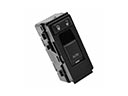 Cadillac Escalade EXT Door Lock Switch
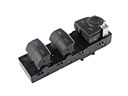 Cadillac Escalade EXT Power Window Switch
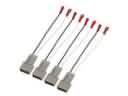 Cadillac Escalade EXT Speaker Connector
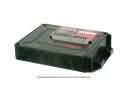 Cadillac Escalade EXT Suspension Control Module
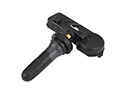 Cadillac Escalade EXT TPMS Sensor
 Cadillac Escalade EXT Window Motor
 Cadillac Escalade EXT Wiper Switch