ChevyParts
My Garage
My Account
Cart
OEM Buick Starter Solenoid
Starter Solenoid Relay- Select Vehicle by Model
- Select Vehicle by VIN
Select Vehicle by Model
orMake
Model
Year
Select Vehicle by VIN
For the most accurate results, select vehicle by your VIN (Vehicle Identification Number).
3 Starter Solenoids found


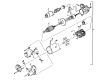
Buick Solenoid Part Number: 1114458
Product Specifications- Other Name: Starter So
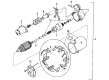
Buick Starter Solenoid Part Number: 1114591
Product Specifications- Other Name: Switch, Starter Solenoid
- Replaces: 1114578
Buick Starter Solenoid Part Number: 1114531
Product Specifications- Other Name: Switch, Starter Solenoid; Drive; Solenoid; Switch, Starter Motor
Buick Starter Solenoid
Choose OEM Starter Solenoid, you're making the optimal decision for superior quality and perfect performance. You can feel confident because each component goes through stringent quality checks. Every part is carefully built to comply with Buick's factory specifications. You'll enjoy a smooth, worry-free installation that fits just right. At ChevyPartsDeal.com, you'll find it easy to get top-quality OEM Buick Starter Solenoid. You can shop at highly competitive prices and protect your budget. All our genuine Buick parts include a dependable manufacturer's warranty. You'll also appreciate our straightforward return policy and swift delivery services for extra convenience.
The Buick Starter Solenoid is a hard-working little gatekeeper next to the starter motor, having one simple duty: pass battery juice when you twist the ignition. Drivers continue to choose Buick because of the hush that can be felt when the doors close and the QuietTuning tricks prevent the tires and wind from droning so that music and conversation can be heard. The seats are cushion-like living room seats but with sufficient support to get to the next state or even a pothole, and the suspension absorbs the potholes without reducing the steering wheel to jelly. The four-cylinder turbo designs are a compromise between power and economy as the car can get to traffic without gulping all the fuel. The digital gauges are elevated and luminous, the feature of wireless phone reflection is an inbuilt version, and the head-up display is suspended in position to keep eyes focused on the road. Lane keep assist, blind spot warnings, and automatic braking intervene in advance before panics set in. Prior to changing the Starter Solenoid, park flat, turn on the parking brake, disconnect the negative cable, and eliminate power. Get under your Buick and find the little cylinder on the starter case and take the wire arrangement and save it. Take out the terminal nuts, slide the leads away, loosen the bolts, and pull out the weary unit. Install the Starter Solenoid and position holes, clamping. Reattach the thick battery lead and the smaller trigger with the wire, making sure to route for heat clearance and motion. Reconnect the battery, flick the key, hear a nice, sharp cranking, and you know you are now in business.
Related Buick Parts
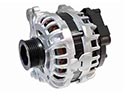 Buick Alternator
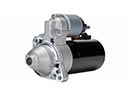 Buick Starter
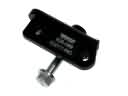 Buick Alternator Bracket
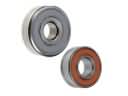 Buick Alternator Bearing
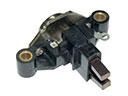 Buick Alternator Brush
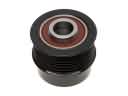 Buick Alternator Pulley
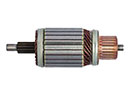 Buick Armature
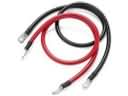 Buick Battery Cable
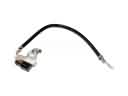 Buick Battery Sensor
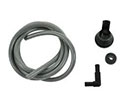 Buick Battery Vent Tube
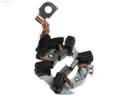 Buick Starter Brush
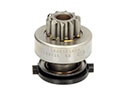 Buick Starter Drive