ChevyParts
My Garage
My Account
Cart
OEM Buick Rainier Shift Cable
Transmission Shift Cable- Select Vehicle by Model
- Select Vehicle by VIN
Select Vehicle by Model
orMake
Model
Year
Select Vehicle by VIN
For the most accurate results, select vehicle by your VIN (Vehicle Identification Number).
1 Shift Cable found


Buick Rainier Shift Control Cable Part Number: 15785087
$77.33 MSRP: $134.94You Save: $57.61 (43%)
Buick Rainier Shift Cable
Want to cut long-term maintenance and repair costs? Choose OEM Shift Cable. Those parts deliver top durability you can trust. On our site, you'll find a huge catalog of genuine Buick Rainier parts. Prices are unbeatable, so you can keep more in your pocket. Every OEM Buick Rainier Shift Cable includes a manufacturer's warranty. You can also get an easy return policy that keeps buying risk free. Fast delivery, get your car on the road quickly. It's simple to search, compare, and order. Stop guessing about quality or fit. Order today and save with parts that last.
The Buick Rainier Shift Cable functions as a vital transmission component which enables users to switch gears by connecting the gear shifter to the transmission system. The Shift Cable stands as a vital component which delivers performance excellence together with reliability to improve both safety and efficiency of the Buick Rainier. This Shift Cable supports Rainier vehicle models from 2004 through 2007 as it advanced through transmission technological progress to provide enhanced driving smoothness. Keep the Buick Rainier Shift Cable properly maintained because transmission problems stem directly from ordinary wear and destruction. Vehicle control and smooth gear changes become optimized through a successful Shift Cable which significantly enhances Buick Rainier performance because of its robust powertrain and luxurious design. The Buick Rainier Shift Cable features durability as its main distinct characteristic since it persists through everyday driving conditions while delivering consistent shifting function. The reliable nature of this component stands out because the car model gains its popularity from its dominant styling and security mechanisms such as all-disc antilock brakes together with GM's StabiliTrak system. The automotive market values the Buick model Shift Cable as an exceptional part which delivers exceptional driving experiences through its dedication to reliable performance and safety features.
Buick Rainier Shift Cable Parts and Q&A
- Q: How to replace the automatic transmission shift cable on Buick Rainier?A:The first requirement for Shift Cable replacement is to position the vehicle in park mode and then elevate it. The first step to replace the Shift Cable consists of disconnecting the Shift Cable from the transmission range selector lever ball stud before removing its retainer from the cable. Remove the Shift Cable from both the bracket and floor panel retainer then take out the cable from Transfer Case retainers on 4wd vehicles. Drive the cable grommet through the floor panel from above and lower the vehicle then take off the console. Start by removing the driver-side front mat along with the carpet and next step involves removing the end of the Shift Cable from both the floor control ball stud and the floor shift control assembly. First remove the tape along with grommet on the Shift Cable from the floor panel before removing the Shift Cable from the vehicle. Install the grommet in the floor panel before inserting the cable down while attaching the Shift Cable to the floor shift control assembly and connecting its end to the floor control ball stud. Installing the carpet and mat on the driver side front followed by plugging in the console completes the process. After raising the vehicle install the cable into the floor panel retention spot or into 4wd Transfer Case retaining points. Roaring forward with caution, hook up the Shift Cable to bracket and then fasten the retainer onto the Shift Cable. You should finish your repair by connecting the end of the Shift Cable to the transmission range selector lever ball stud. Proceed with adjusting the Shift Cable then lower the vehicle to perform correctness checks.

Related Buick Rainier Parts
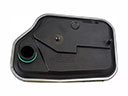 Buick Rainier Automatic Transmission Filter
 Buick Rainier Automatic Transmission Seal
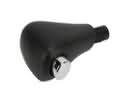 Buick Rainier Automatic Transmission Shift Levers
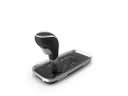 Buick Rainier Automatic Transmission Shifter
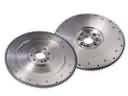 Buick Rainier Flywheel
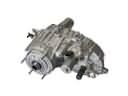 Buick Rainier Transfer Case
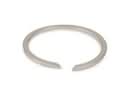 Buick Rainier Transfer Case Output Shaft Snap Ring
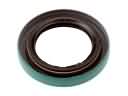 Buick Rainier Transfer Case Seal
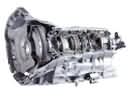 Buick Rainier Transmission Assembly
 Buick Rainier Transmission Gasket
 Buick Rainier Transmission Pan