ChevyParts
My Garage
My Account
Cart
OEM 2006 Buick Rainier Bumper
Bumper Fascia- Select Vehicle by Model
- Select Vehicle by VIN
Select Vehicle by Model
orMake
Model
Year
Select Vehicle by VIN
For the most accurate results, select vehicle by your VIN (Vehicle Identification Number).
2 Bumpers found

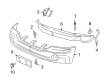
2006 Buick Rainier Bumper Cover Part Number: 12335748
$482.26 MSRP: $724.26You Save: $242.00 (34%)Product Specifications- Other Name: Fascia, Front And Rear Bumper/Fascia Face
- Position: Front
- Item Weight: 13.80 Pounds
- Item Dimensions: 75.9 x 22.3 x 30.4 inches
- Condition: New
- Fitment Type: Direct Replacement
- SKU: 12335748
- Warranty: This genuine part is guaranteed by GM's factory warranty.

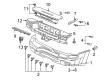
2006 Buick Rainier Bumper Cover Part Number: 12335749
Product Specifications- Other Name: Fascia, Front And Rear Bumper/Fascia Face
- Position: Rear
- Item Weight: 27.20 Pounds
- Item Dimensions: 78.6 x 36.9 x 21.1 inches
- Condition: New
- Fitment Type: Direct Replacement
- SKU: 12335749
- Warranty: This genuine part is guaranteed by GM's factory warranty.
2006 Buick Rainier Bumper
With a comprehensive array of OEM 2006 Buick Rainier Bumper, from fuel pumps to door handles, our website is a one-stop-shop for your needs. All our genuine 2006 Buick Rainier Bumper are backed by the manufacturer's warranty and are offered at competitive prices in the market. Rest assured, you can shop with complete confidence.
2006 Buick Rainier Bumper Parts and Q&A
- Q: How to replace the rear bumper fascia on 2006 Buick Rainier?A: The rear bumper fascia replacement process begins by taking away applicable back up lamp socket assemblies from back up lamp housings followed by removing the lower fascia push-pins and rear wheelhouse flange screws. The next step involves removing upper bolts from the fascias rear part before removing it from the vehicle. To install the fascia move it onto the vehicle impact bar after which install upper retaining bolts while tightening until reaching 2.5 N.m (22 lb in). Secure the fascia to wheelhouse flanges by applying screws until you reach 2 N.m torque (18 lb in). Insert the lower push pins completely after sealing the screws. The back up lamp socket assemblies must be reinstalled after completion of the repair process.
Related 2006 Buick Rainier Parts
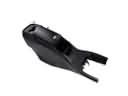 2006 Buick Rainier Center Console
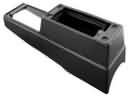 2006 Buick Rainier Center Console Base
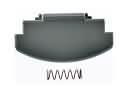 2006 Buick Rainier Center Console Latch
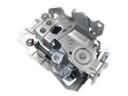 2006 Buick Rainier Door Latch Assembly
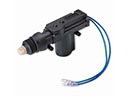 2006 Buick Rainier Door Lock Actuator
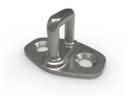 2006 Buick Rainier Door Striker
 2006 Buick Rainier Emblem
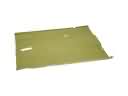 2006 Buick Rainier Floor Pan
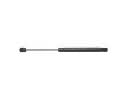 2006 Buick Rainier Lift Support
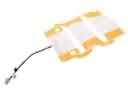 2006 Buick Rainier Seat Heater Pad
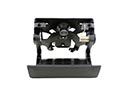 2006 Buick Rainier Tailgate Handle
 2006 Buick Rainier Window Motor